
The best analog kit for a four-camera home is one where the cameras, the DVR, the hard drive, the cable, and the power supply were chosen to work together, not one with the longest list of included items. A kit usually bundles four cameras, a 4-channel DVR, and accessories, and the weak points are almost always in the accessories: thin cable, a small power supply, no hard drive, or a DVR that can’t record the cameras at their full resolution. This guide shows what to check in each part, so a kit gives you a working system and not a box of parts that nearly fit.
Why Analog Still Suits a 4-Camera Home
An analog CCTV camera system sends video over coaxial cable to a DVR, which records it. No network needs configuring, and the cameras don’t depend on Wi-Fi, so the system keeps recording when the router is down. For a home with a handful of cameras, that simplicity is the main attraction. Analog also fits houses that already have coax cable in the walls, since newer HD analog cameras can often use the same runs.
The trade-offs are real. Analog systems have a fixed channel count, so a 4-channel DVR cannot take a fifth camera. Resolution options are generally lower than the top end of IP cameras. Each camera needs both a video cable and power, unless you use a combined cable. If you expect to grow beyond four cameras, or want features such as advanced analytics, compare an IP system before you commit. For a fixed four-camera home on a sensible budget, analog is a practical choice.
What a 4-Camera Kit Usually Contains
Kit contents differ between sellers, so read the listing line by line:
Four cameras, either bullet or dome style
A 4-channel DVR
A hard drive, which is sometimes included and sometimes sold separately
Video and power cable, often a combined type, in some stated length
A power supply, either one box feeding all cameras or individual adapters
Connectors, mounting screws, and sometimes a mouse and HDMI cable
If any item is missing from the list, assume it is not included and add its cost to your comparison.
Match the Cameras to the DVR
This is the most common kit mistake. Analog HD cameras use different signal formats, and a DVR must support the format and the resolution of the cameras connected to it. A high-resolution camera on a DVR that only handles lower resolution will be downscaled, which wastes what you paid for.
Before buying, check three things on the listings: the signal format the cameras output, the formats the DVR accepts, and the maximum resolution the DVR supports per channel. If you are buying cameras separately from the DVR, confirm compatibility with the dealer in writing.
Choose the Right Resolution for a Home
More megapixels give more detail, and they also fill the drive faster. For a home, the question is what each camera has to show.
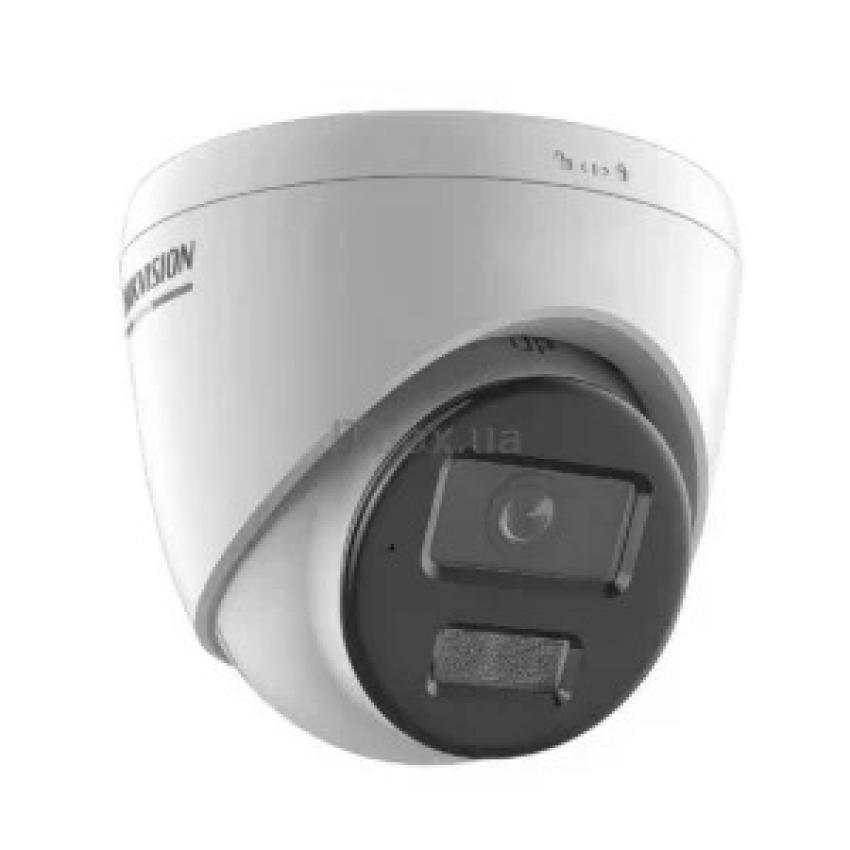
For general awareness, such as seeing who came through a gate or a movement in a yard, a 2MP analog camera is often enough. For faces at a door or a number plate at a short distance, a higher-resolution camera helps. A camera such as the 3.6mm Hikvision 5MP Analog Camera shows what this tier looks like: a 5MP sensor with a 3.6mm lens. Check the listing for its signal format, night vision details, and weatherproof rating, and confirm that your DVR supports 5MP on its channels before choosing it.
Many homes do well with a mix, using higher resolution at the gate and front door, and a lower one at a side passage or indoors. Some kits sell only one resolution, so decide whether a single-resolution kit suits you or whether you’d rather build your own.
What the Lens Means for a Home
A 3.6mm lens sits between a wide lens and a medium one. It shows a reasonable width without stretching the subject too thin, which suits a front door, a porch, or a gate a few metres away. A wider lens covers more of a small yard but shows less detail at the far end, and a narrower lens suits a longer driveway. The lens angle depends on the sensor, so check the datasheet for the stated field of view instead of relying on the focal length alone.
Where to Put Four Cameras
Four cameras go a long way when you place them with purpose. A common plan for a walled home:
Gate or main entrance, aimed to capture faces and vehicles arriving
Front door or porch, covering visitors and deliveries
Rear door or yard, covering the less visible side of the house
A side passage, garage, or driveway, depending on where the weak point is
Mount outdoor cameras high enough to be out of easy reach, but not so high that you only see the tops of heads. Keep them out of direct sun where possible, since glare ruins the picture. For flats, replace the yard and garage with the entrance corridor, the balcony, and the main living area, bearing in mind that cameras pointing into neighbours’ homes can create problems, so aim carefully.
Night Vision in Real Conditions
Most home break-ins and trespassing happen in the dark, so test night performance. Advertised infrared range is a best-case figure, and real range drops with dust, nearby walls that reflect or absorb the light, and insects around the lens. Avoid pointing a camera at a nearby wall or window, which reflects infrared back and washes out the picture. After installation, check every camera at night and adjust the angle before you fix everything in place.
Cable: The Part Kits Often Get Wrong
Many kits include a fixed length of cable per camera, sometimes shorter than you need. Measure the real route from each camera to the DVR, including every turn, and add some slack. Check that the cable is genuine copper, not copper-clad aluminium, which loses more signal and power over distance and can cause flickering or dim cameras on longer runs. For outdoor sections, use cable rated for outdoor use, and seal connectors against rain and dust. A weak connector on a cable run is a common cause of a camera that works for a month and then drops out.
Hard Drive: Check What’s Included
Some kits include a drive, and some leave it out, so confirm this before comparing prices. Use a surveillance-rated drive, which is built for continuous recording. Your required capacity depends on the cameras’ resolution, the recording mode, and how many days of footage you want to keep. Motion recording on quiet cameras stretches storage, while continuous recording on all four cameras fills the drive much faster. Higher-resolution cameras also need more space, so a kit with 5MP cameras needs a larger drive than the same kit with 2MP cameras for the same number of days.
Power Supply and Load Shedding
Check how the kit powers its cameras. A single multi-output power box is tidy, but it must supply enough current for all four cameras with margin. Individual adapters are simpler to replace but need a socket for each. In Pakistan, load shedding and voltage swings are the main threats to a CCTV system. Put the DVR and the camera power on a UPS, and use surge protection, so that a power cut doesn’t stop recording or damage the drive. A kit that records beautifully when the power is on and loses everything during outages has not solved the problem it was bought for.
Remote Viewing
Most current DVRs support viewing from a phone through the manufacturer’s app, which needs the DVR connected to your router and a working internet connection. Check which app the DVR uses, whether setup is by QR code or serial number, and whether the DVR changes the default password at setup. Remote viewing is a convenience on top of recording, since the system records locally whether or not the internet is up.
Branded or Unbranded Kits
Very cheap kits often use unbranded recorders with limited firmware support and unclear warranties. A branded kit from an authorized dealer usually costs more, and what you pay for is a warranty you can claim, firmware updates, and a manufacturer who publishes real specifications. Ask where the stock comes from, and get the warranty terms in writing.
What Affects Security Camera Price in Pakistan for a Kit
Security camera price in Pakistan for a four-camera kit depends on the cameras’ resolution and build, the DVR’s brand and features, whether a hard drive is included and its capacity, the amount and quality of cable, the power supply, and any installation labour. A cheap kit may leave out the drive or the cable, so compare complete systems, not headline prices. Price the same four cameras and DVR bought separately, then compare with the kit, because a kit saves money only if every part in it is one you would have chosen. Prices change often, so use current listings and a written quote.
DIY or Installer
Mounting four cameras, running coax and power, and setting up a DVR is manageable for a handy person, but long outdoor runs, drilling through walls, and weatherproofing a connector properly are where a professional saves trouble. Ask any installer for an itemized quote that lists camera models, the DVR, drive size, cable type and length, power supply, and warranty.
Checklist Before You Buy
Do the cameras’ signal format and resolution match the DVR’s supported formats?
Is a surveillance hard drive included, and how many days will it hold?
Is the cable copper, and is it long enough for every run?
Does the power supply handle four cameras with margin?
Is there a UPS or surge protection plan?
Do you need a fifth camera later, and if so, is an 8-channel DVR a better start?
Is the warranty in writing, with a named dealer behind it?
Has each camera been tested at night, after installation?
Choosing a Kit That Won’t Leave You Short
Decide which four spots matter most, choose the resolution those spots need, and confirm that the DVR can record that resolution before you look at price. Count the cable, the drive, and the power backup as part of the system, not as extras. A kit that matches those details gives a four-camera home setup that records reliably through hot summers and power cuts, and that you can check on without fuss.