Complex situations arise frequently in drilling operations, with stuck pipe being a common one. So, how should we properly move the drill string when encountering stuck pipe? What preparations should be made beforehand? We will answer these questions one by one.
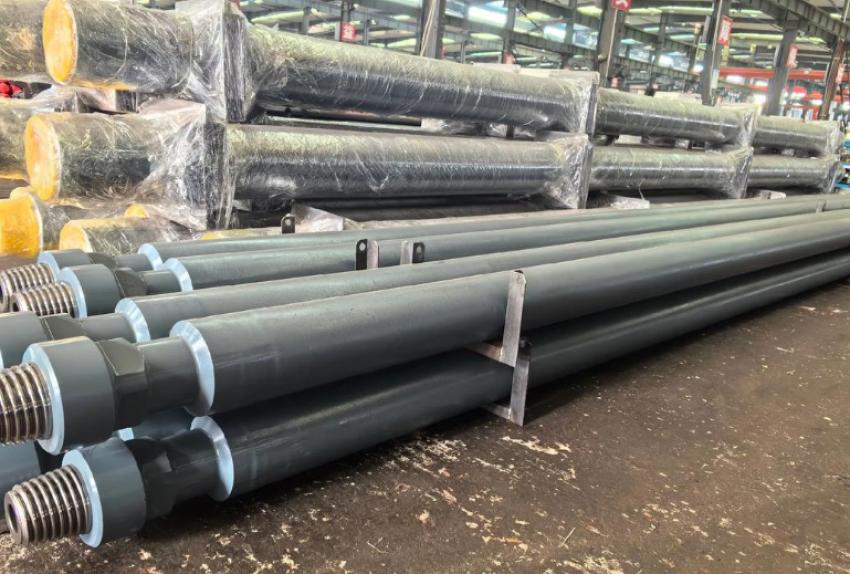
Common drill string components mainly include the drill bit, drill string (such as drill pipe and drill collars), downhole power drill string, and various auxiliary and fishing tools. These together constitute the core system of drilling and well workover operations.
Methods for Moving Drill Strings After Stuck Pipe:
Once stuck pipe occurs, immediately begin moving the drill string. Follow operating procedures and perform large-scale up-and-down movements within safe load limits, sometimes requiring rotation of the drill string. Crucially, the movement range should cover the section of the well above the stuck point to prevent secondary stuck pipe from the upper drill string. Simultaneously, to avoid fatigue breakage due to prolonged fixation at the same tonnage, the stuck point location must be accurately calculated, and the movement method should be continuously varied.
The stuck point depth can be calculated using the following formula: L = K × ΔL / ΔF, where L is the stuck point depth (meters), K is a calculation coefficient (related to the drill string steel grade and size), ΔL is the drill string stretch (cm), and ΔF is the increase in lifting force (kN).
Inspection Items Before Moving Drill Strings:
A thorough inspection must be performed before moving the drill string, including: confirming the sensitivity of the weight indicator, the secure fixing of the dead and live ropes, the neatness of the main rope arrangement on the drum, the presence of broken strands in the main rope, the integrity of the suspension system, the stability of the drilling rig, and the integrity of the air system. In addition, the switches must be checked for flexibility and ease of use, and rechecked after several operations.
Key Monitoring Points During Operations:
During operations, close attention must be paid to changes in the weight indicator and drill string elongation dynamics. Constant vigilance is needed regarding changes in the stuck point location, ensuring that off-duty personnel are away from the drilling platform. Special attention should be paid to unexpected situations such as the main rope slipping or the hook tongue opening. After oiling (injecting release agent into the stuck point), prevent the drill string from suddenly releasing, which could lead to a sudden stop and subsequent drilling failure due to unattended brake levers. Simultaneously, avoid serious reverse-engine accidents when moving the drill string.
Causes and Prevention of Drill Strike:
The main causes of drill strikes include: the driller leaving their post, improper operation, equipment malfunction, and drill string damage. Specific manifestations include: severe sticking in the well during tripping, causing the chuck to open; mistakenly engaging a single lifting ring during tripping with double chucks, causing the drill string to break; failure to engage the auxiliary brake as required during descent, excessive descent speed, or untimely braking.
Preventive measures include: strictly following operating procedures and eliminating violations; maintaining concentration and avoiding distractions; regularly inspecting wellhead tools; promptly replacing tools with appropriate ones when using two or more drill pipe specifications; adjusting the brake band when lifting the drill string; ensuring that the chuck specifications match the drill string; ensuring the derrickman properly fastens the chuck; securing the safety slips when lifting or lowering the drill collar; preventing the overhead crane from breaking the main rope; and promptly detecting and stopping the use of the main rope when it slips out of its groove.
Emergency handling after a stuck drill string:
In the event of a severe stuck drill string, the following steps should be taken:
1. If the drill string has not fallen into the well, immediately restore drilling fluid circulation and simultaneously move the drill string to prevent stuck pipe.
2. Conduct a comprehensive inspection of the hoisting system, braking system, air lines, and transmission components to ensure there are no problems with the surface system before addressing downhole issues.
3. If the drill string has not fallen into the well, attempt to slowly lift it up, check the suspension weight, and carefully inspect the condition of the drill string when lifting it out.
4. If the drill string has fallen into the well, first run the scouting top. 5. Slowly lower the retrieval tube within the likely well section, avoiding pushing the fish head into the wellbore.
6. Once the fish head is reached, immediately retrieve it. If the fish head is broken, record the depth and replace the retrieval tools.
7. If the fish head cannot be reached, use methods such as electrical logging to determine its location before retrieval.
Slip Retrieval Tube Operation Procedures:
When using a slip retrieval tube, follow these steps:
1. Select the appropriate size slips based on the fish head condition and well diameter, and install slips of the correct dimensions.
2. Inspect and maintain the slips, springs, and packing, measure the dimensions, and draw a sketch.
3. Lower the retrieval tube to 5 meters above the fish head and start the pump to circulate drilling fluid to flush away the mud and sand around the fish head.
4. Accurately calculate the retrieval direction and calibrate the weight indicator.
5. After stopping the pump, lower the retrieval tube. If the fish head is correctly positioned, lower it to the top of the slips in one go and pull it up to retrieve it.
Precautions: Accurate placement is crucial for successful retrieval; do not rotate the fish head after it enters the slips; never unravel on the rotary table; it is recommended to connect a vibratory mixer to the top for release if the drill string is stuck after retrieval.
Magnetic Retrieval Tool Usage Points:
Select the magnetic retrieval tool according to the wellbore diameter; the maximum outer diameter should be 10-25 mm smaller than the wellbore diameter.
Pre-build a sample of the retrieved object and test its magnetism.
Determine whether to use a guide shoe based on the size of the retrieved object, ensuring the guide shoe size is compatible.
Purpose of Casing Mud Injection:
Injecting mud during casing installation is crucial to balance the pressure difference between the inside and outside of the casing. Specific functions include: preventing damage to the backpressure valve, avoiding damage to the casing due to excessive hollowing, and increasing the weight of the casing string to facilitate installation. Generally, mud is injected every 10-20 casing sections to maintain the mud level inside the casing above the wellhead.
Technical Casing Drilling Protection Measures:
When drilling technical casing, the following protection measures should be taken: keep the overhead crane, rotary table, and wellhead in a straight line; firmly fix the rotary table and wellhead; ensure the straightness of the angular drill pipe; install rubber clamps on the drill pipe inside the casing; reasonably control the drilling speed; optimize the drill bit and drilling parameters to improve efficiency and reduce casing wear.