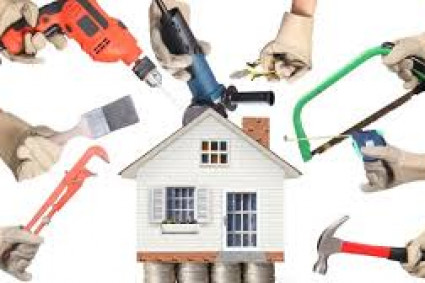
Most houses in America use drywall for construction instead of plaster or brick. It's light, inexpensive, and simple to put up. But although it may seem easy, installing drywall is more complicated than just hanging a few sheets.
In this article, we'll lift the veil and observe what goes on with a DryWall Contractor in Renton project. From preparation to completion, we'll demonstrate how the pros do it—and how you can.
- Getting Started: Planning the Project
A plan exists before anything gets hung up. Contractors don't simply show up with drywall and begin. First, they scope out the area. They measure all the walls, windows, and corners. The team prepares and spaces the studs evenly—typically 16 inches apart.
Then there's the materials list. Here's what's typically on it:
- Drywall sheets (most are 4x8 feet)
- Joint compound (also referred to as "mud")
- Drywall tape
- Screws or nails
- Drywall saw or utility knife
You'll also need a drill, T-square, and sanding tools. Sometimes, you'll even need a lift for ceilings.
Planning helps avoid delays and wasted materials. It also keeps the job on budget, which is a big win.
- Prepping the Area: Don't Skip This Step
Before hanging drywall, the space needs to be clean and safe. Any old nails or debris must go. Wires and pipes get double-checked, too.
This is important because finding a missed wire once the drywall goes up is a nightmare.
Here's what a good prep typically involves:
- Taking down old wall coverings or bad drywall
- Sealing gaps in insulation
- Checking for moisture or mold
- Marking stud locations clearly
This is also when you must install any soundproofing or fire-resistant materials. This step is crucial if you're finishing a basement or garage.
Skipping preparation can save a few minutes but also costs a lot.
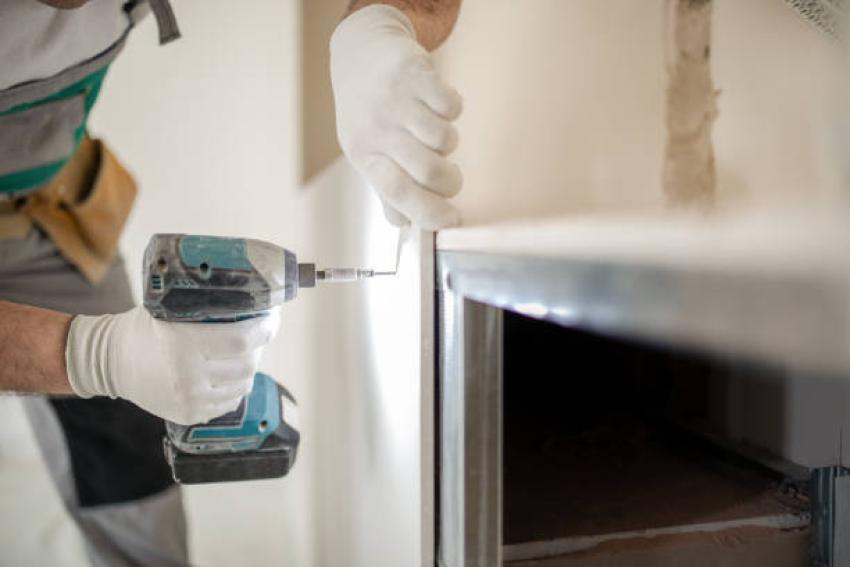
- Hanging the Drywall: It Takes a Team
Now comes the best part—actually hanging the sheets. A crew of two or more usually performs this task. Drywall sheets are large and cumbersome, and teamwork makes this easier.
Sheets go up on ceilings first and walls second. Why ceilings first? Because of gravity. It's easier to tuck wall sheets under the ceiling for a clean look.
Here's what happens during the hanging stage:
- Sheets are cut to size using a T-square and knife
- Drywall is hung horizontally or vertically, depending on the wall size
- Screws are used to hold the sheets to studs every 12–16 inches
- Joints are made to be snug to minimize later joint work
You need both strength and accuracy here. A mismeasured cut or crooked screw can produce cracks down the line.
- Taping and Mudding: The Magic Layer
We are just starting to hang the drywall. The finish looks easy. Bring in joint tape and mud.
First, we accomplish taping.. It seals seams between drywall panels. There are two varieties of tape: paper and mesh. Paper is more durable, but mesh is more suitable for novices.
Next is the mud. It has a thin first coat that fills seams. It also seals screw holes. Then, allow it to dry—normally overnight.
When dry, sanding smooths out the surface. They apply another coat of mud. Repeat this until the wall is even and smooth.
Tip: Sand always in a circle to prevent lines or grooves.
- Sanding and Smoothing: It's Dusty, But Worth It
Sanding is when the wall comes together. An exterior house painter near me smoothes out the mud and gets everything blended. But fair warning—it's dusty.
That's why most professionals wear masks and goggles. Dust can settle anywhere, but a fan or vacuum cleaner keeps the air clear.
Some individuals hurry through this process. Sanding well now will be easier to repair than correcting lumps afterward.
You should:
- Use sanding blocks of fine grit or a pole sander
- Inspect seams by flashlight to reveal defects
- Remove dust using the vacuum cleaner before painting or priming
Sanding may seem boring, but it gives walls that professional finish.
- Priming and Painting: The Final Touch
After sanding, it's time to prime. Primer helps paint stick better and makes the color pop. It also hides any small imperfections in the wall.
Choose a drywall-specific primer. It seals the mud and prevents uneven paint absorption.
Once dry, you can paint. Two coats are normally sufficient. Sanding lightly between coats works if necessary.
This step is all worth it. Watching the clean, white wall come alive is so rewarding.
Got a tip? Invest in high-quality brushes and rollers. Inexpensive tools create streaks and fuzz behind.
- Cleanup and Final Checks: Wrapping It Up Right
When the paint is dry, the final step is cleanup. The Painter Renton packs up any leftover materials, sweeps the floors, and removes trash.
But there's something else to do—final inspections. Contractors tend to walk through and check out their work. They look for:
- Loose corners or bubbles of tape
- Missed areas in the paint
- Shadows or uneven surfaces
If something's not right, they correct it before they go. This is what makes a good job into a great job.
Lastly, they turn the room over. Clean, smooth, and ready to occupy.
Absolutely! Here's an updated conclusion section of the blog post with an open-ended question and a new title to match. This invites reader participation and keeps the discussion going—excellent for SEO and community-building.
What's Your Next Drywall Project?
Now that you've got a glimpse behind the scenes of a drywall installation, you may be thinking about your home. It could be a broken wall in your living room. You may be completing a basement or renovating a garage.
Whatever it is, you're not alone—homeowners nationwide are embarking on drywall projects of all sizes.
So, what's your next step?
Do you plan on doing it yourself, or are you considering hiring a pro? Do you have any DryWall contractor renton tips or tales of your own? We'd love to hear them!
In the comments below, please leave your questions, share your plans, or relate your previous drywall successes and failures. Contact Mendez Painting LLC. Let's keep the discussion going!