
Introduction:
In a world where sustainability is more and more important, the art of recycling offers a creative and green solution. Embroidered patches are one of the most attractive and versatile strategies for breathing new life into old things. This blog explores the changing power of embroidered labels in recycling, suggestions, strategies and good suggestions to turn your antiques, unused items into precise treasures
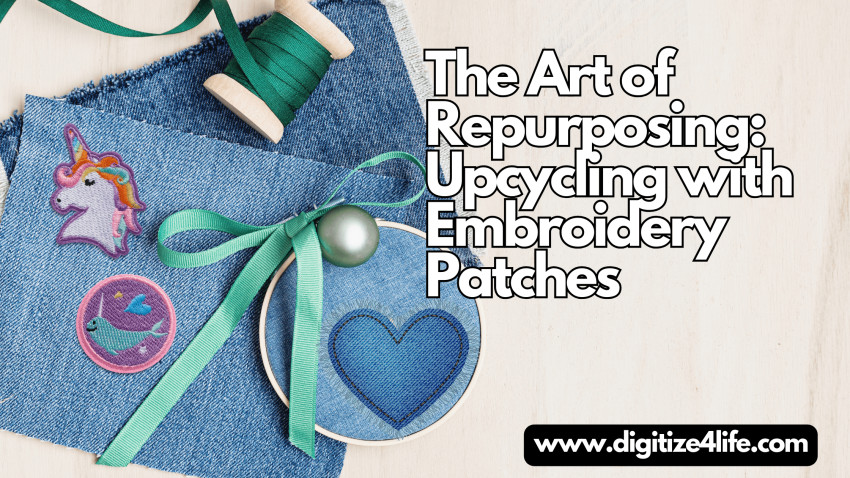
The Magic of Upcycling Embroidery
Upcycling is more than just a trend, it is a movement closer to a more sustainable and conscientious lifestyle. Embroidered tags add privacy to this procedure, combining lifestyle with creativity. They can turn everyday devices into works of art, making them not only functionally efficient, but also aesthetically appealing.
Why choose embroidery for recycling?
Versatility: Embroidered tags can be attached to various items such as clothes, luggage, home decorations and furniture. The possibilities are endless.
Customization: You can place and create pieces that mimic your personality or tell a story, making each piece unique.
Durability: Very comfortable Embroidered patches are durable and can withstand daily use and washing.
Ecological: By recycling embroidery labels, you promote sustainability and reduce your carbon footprint.
Getting Started: Tools and Materials
Before diving into your recycling business, get the tools and materials you need. Here’s a basic list to get you started:
Embroidery (Premade or DIY)
Needle and thread (Match Stain Colors)
Fabric Glue (Short Placement Optional)
Scissors
Iron (For Ironing)
Recyclable Items (Clothing, Luggage, Home Decorations, etc.)
Creative Ideas For Recycling with embroidery
1. Updating Old Clothes
One of the most famous ways to apply embroidery is to update vintage clothes. Whether it’s a denim jacket, a pair of denim jackets or a simple shirt, places can turn these gadgets into style statements.
Denim Jackets: Add slits to the rolled sleeves or pocket of a vintage denim jacket for a modern, tailored look.
Jeans: Place patches on the knees or back of your wallet to cover holes or stains while adding style.
T-Shirts: Make a spot on the chest or sleeve of a vintage T-shirt the focal point.
2. Customize Accessories
Bags, hats and shoes also benefit from the attractiveness of the embroidery sites.
Bags: Dress up spaces with vintage luggage, backpacks or purses that reflect your style or hobbies.
Hats: Add a tag to a plain baseball cap or hat to give it new life.
Shoes: Attach small canvas patches to the sides or heels of shoes for a unique personalized look.
3. Home Decor Enhancements
Embroidered patches can add a whimsical or elegant touch to many home decorations.
Cushions: Update antique cushions with patches that promote your room’s theme or color scheme.
Drapes: Add slits to plain drapes for a custom, more textured look.
Tablecloths and Napkins: Enhance your dining experience by adding places on tablecloths and napkins to transport portions.
Step-By-Step Guide to Attaching Embroidery Tags
1. Prepare the Item
Make sure the recycled item is smooth and free of particles. To make the software process easier, place it on a flat, clean surface.
2. Location Placement
Place the location in the desired location. If you are using fabric glue, put a small amount on the underside of the patch to temporarily hold it in place. Use an ironable patch and cover it with a thin cloth to protect it from direct heat.
3. Sew the Patch
Start sewing around the edges of the patch with a needle and thread. Use small, even stitches to make sure the patch is properly attached. If the patch is large, you may need to add a few stitches in the middle to keep it from rolling.
4. Ironing the Patch (Ironable)
Set the iron to the appropriate temperature for the material of your item. Press the iron onto the patch (included with the material) for the recommended time, usually 30–45 seconds. Let it cool before handling.
DIY Embroidery Shops
If you’re feeling creative, you can make your own embroidery. Here’s a simple guide:
Materials:
Fabric (Preferably Cotton or Linen)
Embroidery Hoop
Embroidery Thread
Needle
Scissors
Fusible Binder (Optional)
Fabric Glue (Optional)
Steps:
Plan Your Location: Draw a design on paper. Simple shapes and patterns are perfect for beginners.
Prepare the Fabric: cut a piece of fabric slightly larger than the desired size. Then put it in the embroidery hoop.
Start Embroidering: Use your pattern as a guide and start embroidering with your chosen thread shades. Add texture and depth by experimenting with unique stitches.
Cut Out the Patch: After the embroidery is done, carefully cut the patch down, leaving a small border around the edges.
Attaching a Fuse Plug (Optional): You can attach a fuse plug to the bottom of the socket for added durability.
Attaching the Patch: Use fabric glue to quickly attach the patch to your area, then sew it exactly as directed.
Tips For Successfully Reusing Embroidery
Plan Your Design: Before attaching the patches, place them on your item to see the final look.
Mix and Match: Feel free to mix and match different styles and sizes of patches for a unique look.
Use Quality Materials: Invest in premium patchwork and embroidery for strength and a professional finish.
Experimentation: Experiment with unique items and techniques to find what works best for you. Recycling is a creative system, so enjoy it!
Conclusion
Recycling embroidery labels is rewarding because it expresses your creativity and sells durability. Whether it’s repurposing antique clothing, personalizing accessories or enhancing home decor, embroidery offers endless possibilities. Master the art of repurposing and transforming vintage appliances into accurate, interesting pieces that tell a story and reflect your understated style.
When you add embroidery tags to your recycling projects, you’re not only creating beautiful, custom items, you’re also helping to create a greener, more sustainable world. So gather your supplies, unleash your creativity and start your recycling adventure today!


