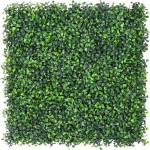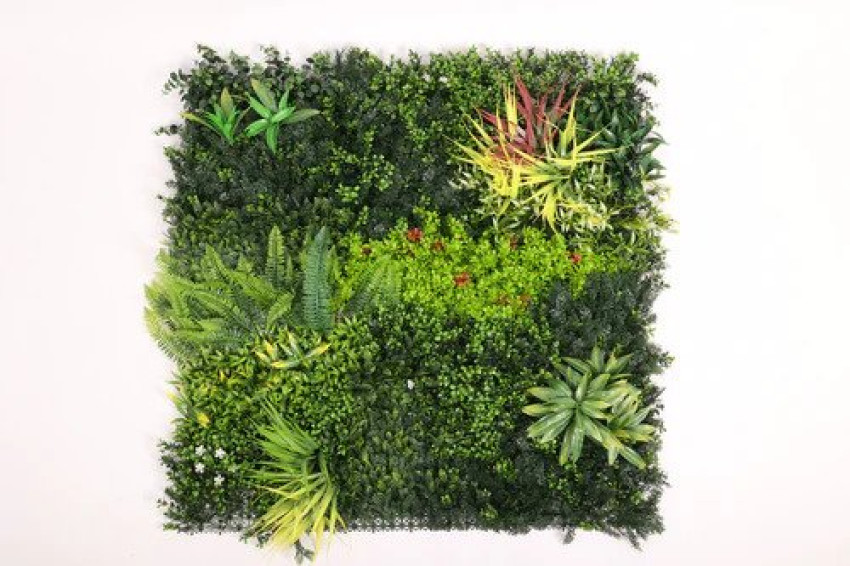
Artificial grass wall design: An artificial living wall, also known as a green wall or vertical garden, is a carefully crafted arrangement of artificial plants, foliage, and sometimes flowers arranged in a vertical pattern on a surface. The structure is designed to resemble a vibrant, living ecosystem, with various plant shapes, sizes, and colors strategically placed to create a visually appealing display.
The base of the artificial living wall typically consists of a vertical support system, which can be a grid, panel, or frame. This structure is then adorned with artificial plants made from high-quality materials such as plastic, silk, or other synthetic fibers that closely resemble real foliage. Some advanced designs may even incorporate realistic textures and three-dimensional elements to enhance the lifelike appearance.
Artificial living walls are popular for their versatility and low-maintenance nature, as they don't require watering, sunlight, or soil. They can be installed both indoors and outdoors, transforming spaces into green environments without the challenges associated with maintaining real plants.
These installations serve aesthetic purposes, adding a touch of nature to urban environments or interior spaces where traditional gardening might be impractical. Additionally, artificial living walls are often used for their potential to improve indoor air quality and create a calming atmosphere.
STEP 1 :
Remove the Old Dirt and Grass
You will need a sharp spade shovel, or rent a mechanical sod cutter to remove the old turf. Make sure to remove the clumps of grass and level the area.
If there is a sprinkler system installed, you can either pull it up or just leave it. It's probably best to just pull the exposed sprinkler heads to help even out the ground, and if you or a new homeowner ever wants to install grass again, you can just re-attach the heads. We would like to dig about 2-4" down from the ground level.
STEP 2 :
SUBBASE PREPARATION
In order to choose the perfect subbase, it depends on what kind of installation you are going to do. If you are planning to do a putting green installation, then it requires to use decomposed granite to achieve the certain level, whereas the landscape project can work with any gravel/concrete mixture, such as type2road base. A 2-inch layer of subbase material should be applied to the excavation, lightly wetted and compacted two or three times. This can be accomplished with a vibratory plate compactor, but smaller applications and hard-to-reach corners should be compacted with a manual tamper. The amount of subbase material you need to install depends on how deep your excavation is and how much of the artificial grass’ pile height you want exposed.
STEP 3:
Underlayment
In order to prevent any natural grass grow back again, it is advised to install a landscape fabric, such as our Weed Barrier, either above or below the subbase depending on the type of soil in the area.
STEP 4:
To make sure all grass blades stand upright, leave it out in the sun for 1–2 hours. Inspect the material before making permanent alterations. If the install requires seams, orient the largest piece of grass first and rough-cut where needed; best practice is to leave a couple inches of excess on the perimeter just in case. Once your turf has been measured and oriented as desired, anchor one side of the installation with a row of nails placed 1 inch inward and spaced 6 inches apart. Use a carpet kicker to fully lengthen the turf for a taut installation—anchoring with more nails as you continue to kick and stretch.
Article Built by: Artificial grass wall design
Visit Our Website URL: https://affordableturf.us/collections/artificial-living-wall